¶ Adding a Renovate Bot to GitLab
If you manage your own Dockerfile images, Helm Charts, Docker compose files or a something similar in your GitLab, keeping everything up-tp-date is an important task, which can consume a lot of time and energy every week.
Usually you would have to check each and every one of your images, charts or Docker files for new versions.
The best one could hope for is an application which gets used a lot and sends automatic push notifications or mails that a new important update is available.
Unfortunately many selfhosted applications don't deliver these informations or get used often enough to notice that an important security patch has been released a week ago.
Additionally it consumes a lot of time and nerves to look for new versions in different image repositories or documentations.
Renovate Bot was created to specifically fix those annoying issues. It automatically looks for new versions or tags for the selfhosted applications managed in GitLab and opens a merge request with the new version.
This article shows how to install the Renovate Bot from mend.io with Docker compose and how to configure it.
¶ Installation
The installation is a bit complex and has a lot of steps in comparison to other Docker compose applications, which is why it is divided in smaller sections.
Before beginning the installation please create a new directory on the VM where the Renovate Bot is gonna run.
¶ Licence Key
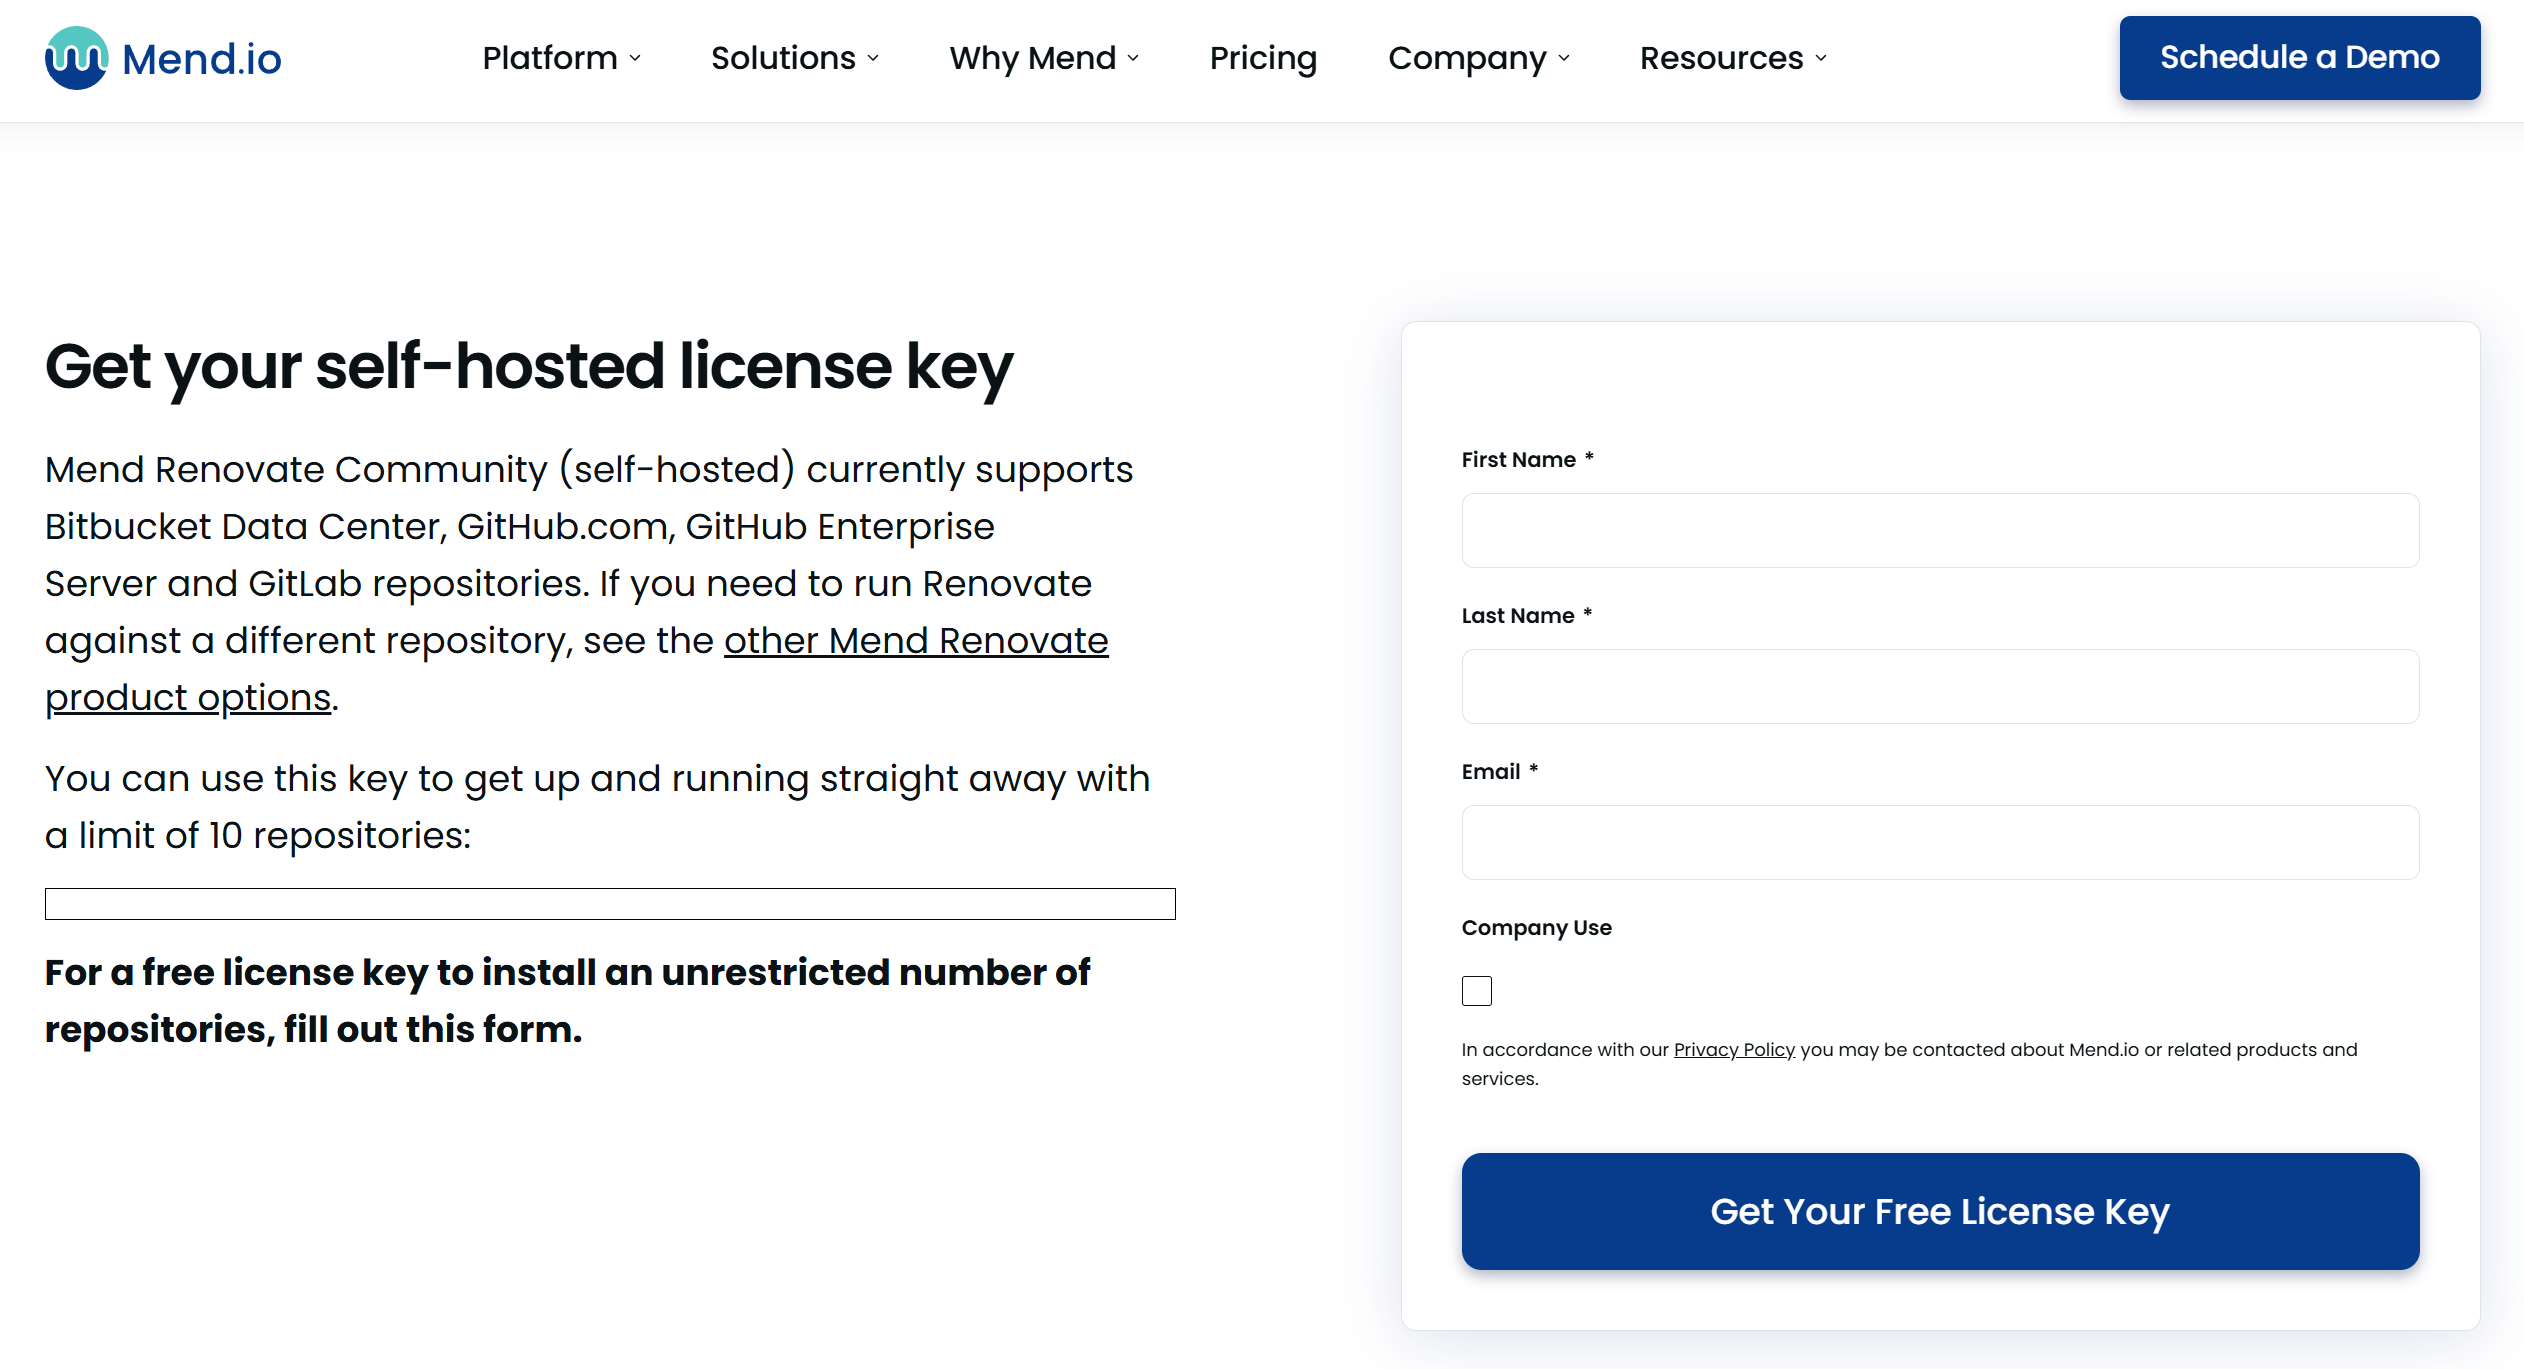
The renovate bot from mend.io is available as a paid service, if you want to selfhost it you just need to create a free account and get your license key.
To begin with please head over to this link, where you can create your own account free of charge and copy the license key you will need later on in the guide.
¶ Renovate Bot Account
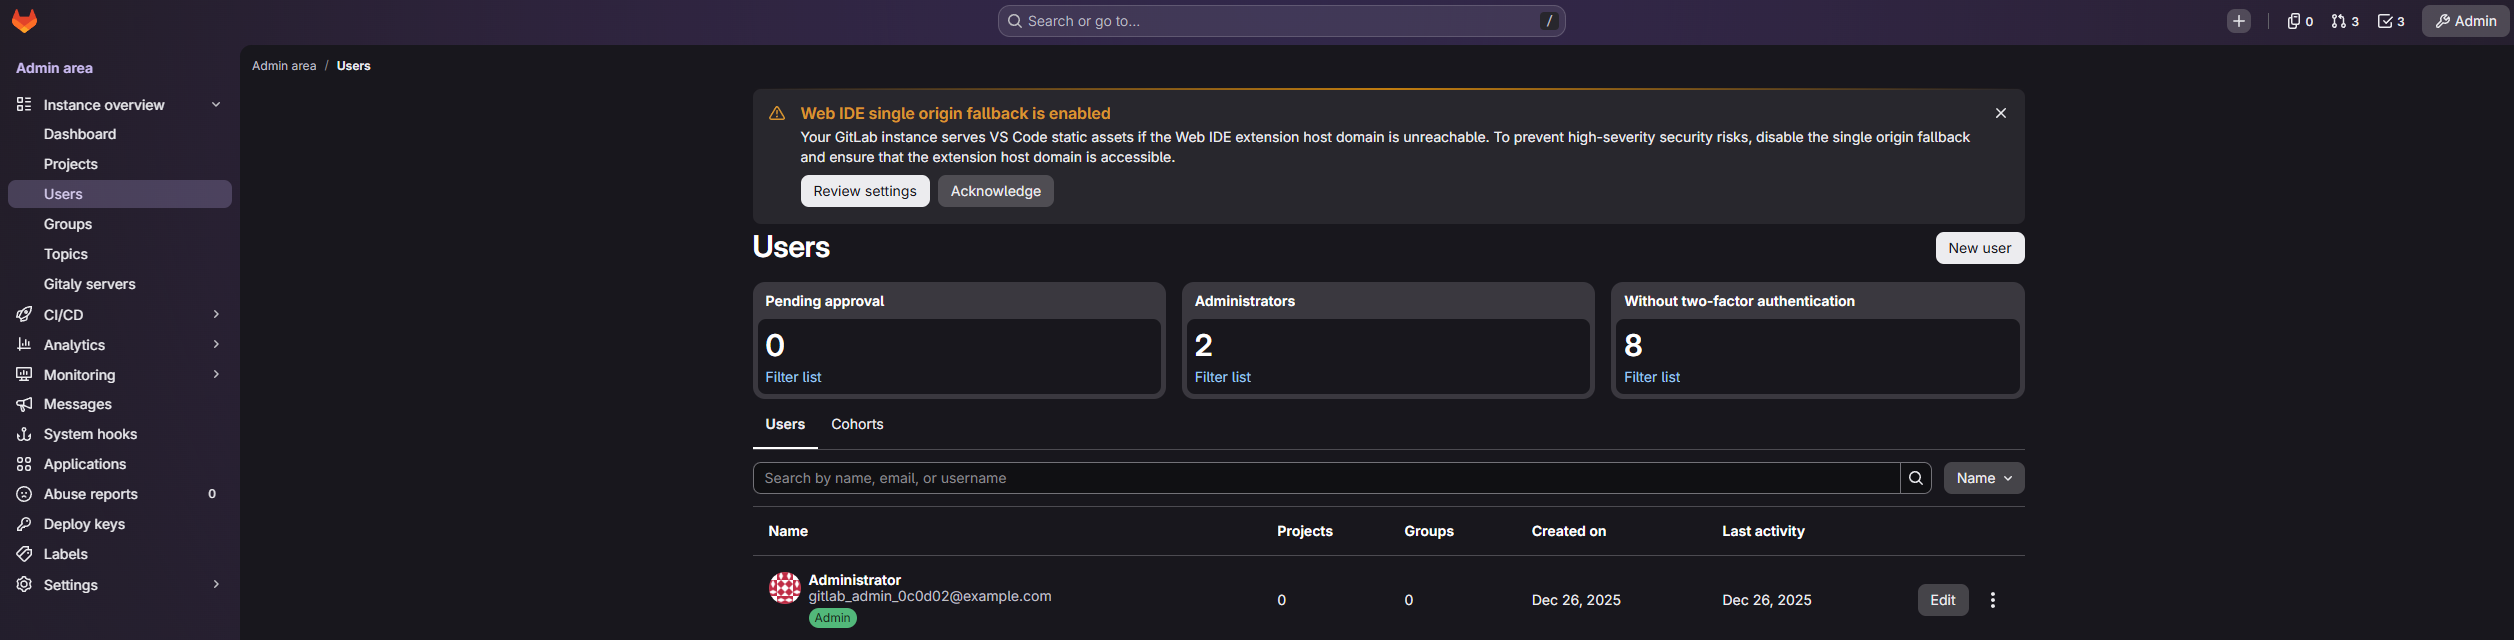
Next up you have to create a new GitLab account for the renovate bot. For this please head over to the admin panel by clicking the “Admin” button on the top right corner of the screen and then navigate to the “Users” section on the left menu.
Now, in the middle of the screen, press the button “New user”.
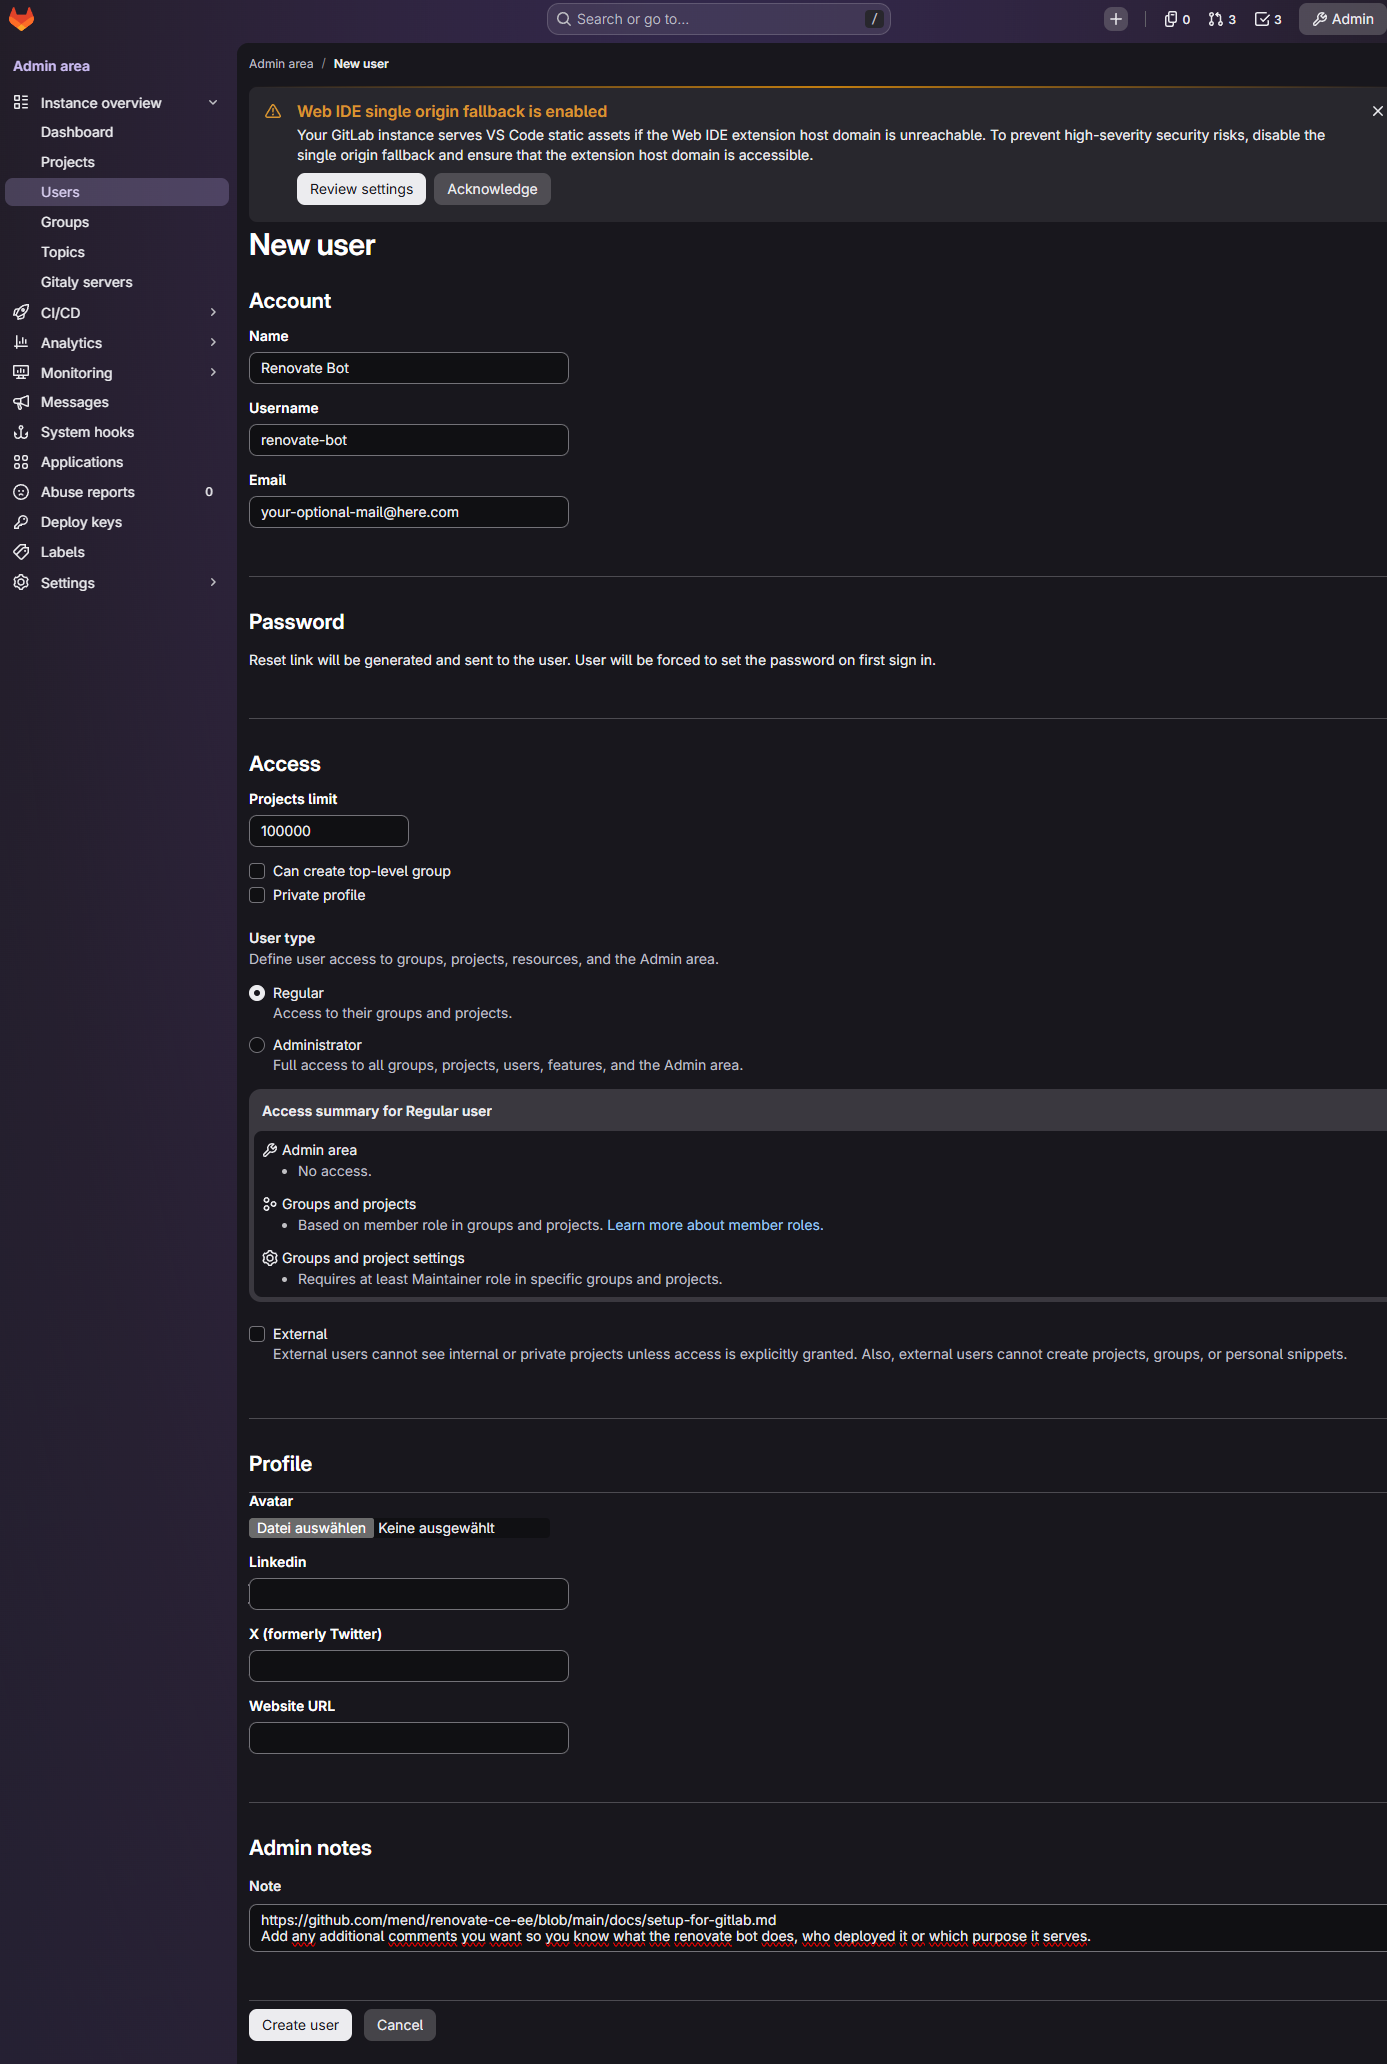
mend.io recommends to use the name “Renovate Bot” and the username “renovate-bot”. An email, profile picture and an admin note are optional, but are recommend and useful to know why this account exists and document who created it.
¶ GitLab Personal Access Token
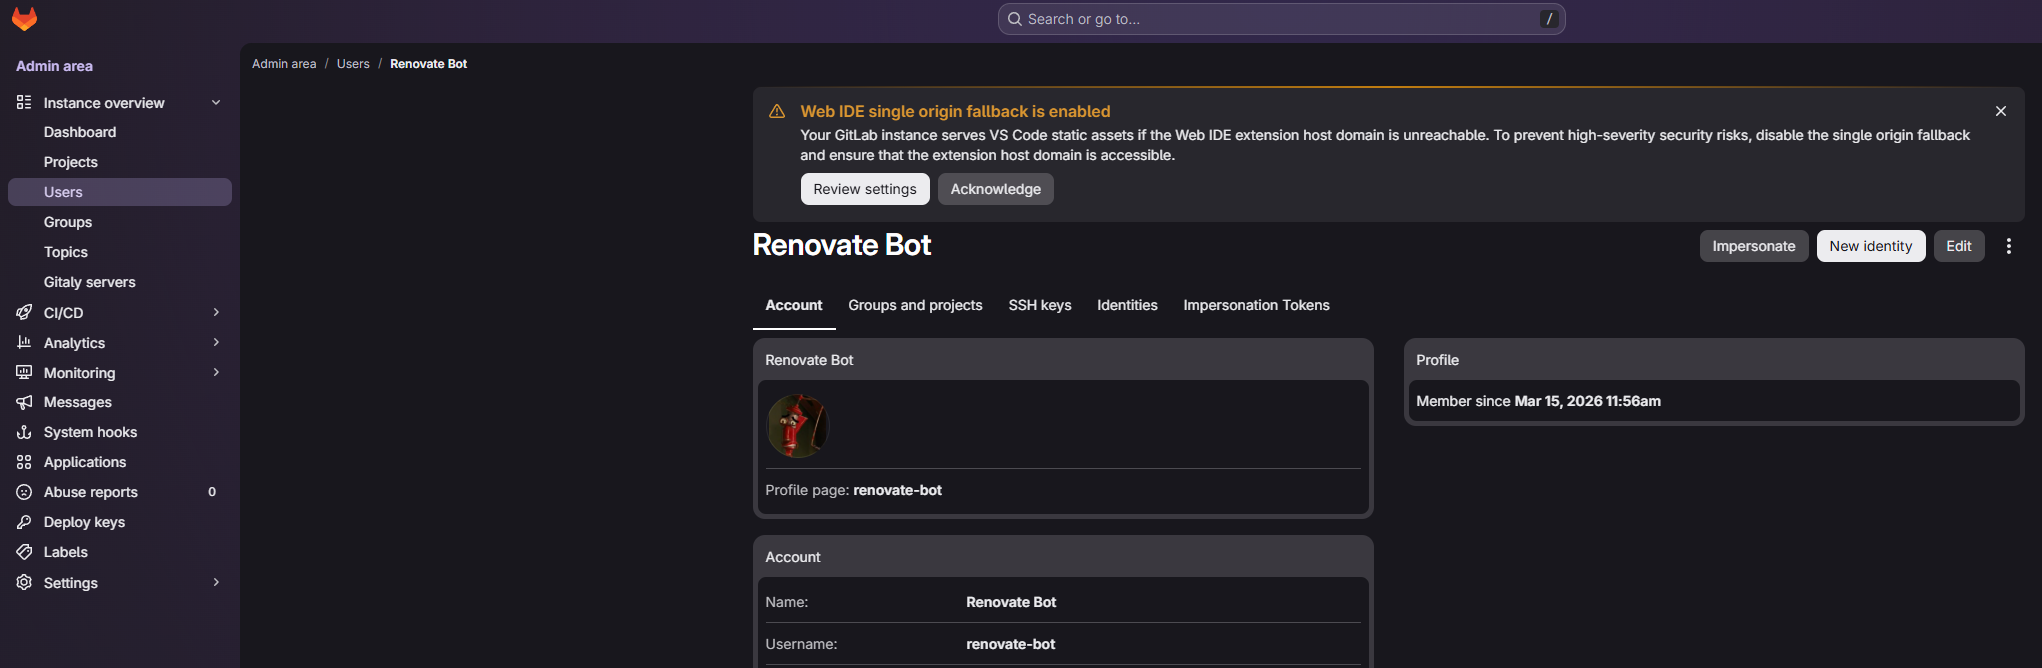
After creating the user we need to impersonate it, to create a personal access token.
For this click on the newly created renovate user and press the button “Impersonate” to take control of it and create the personal access token (PAT).
For this press the profile picture of the account on the top right and select “Edit profile”.

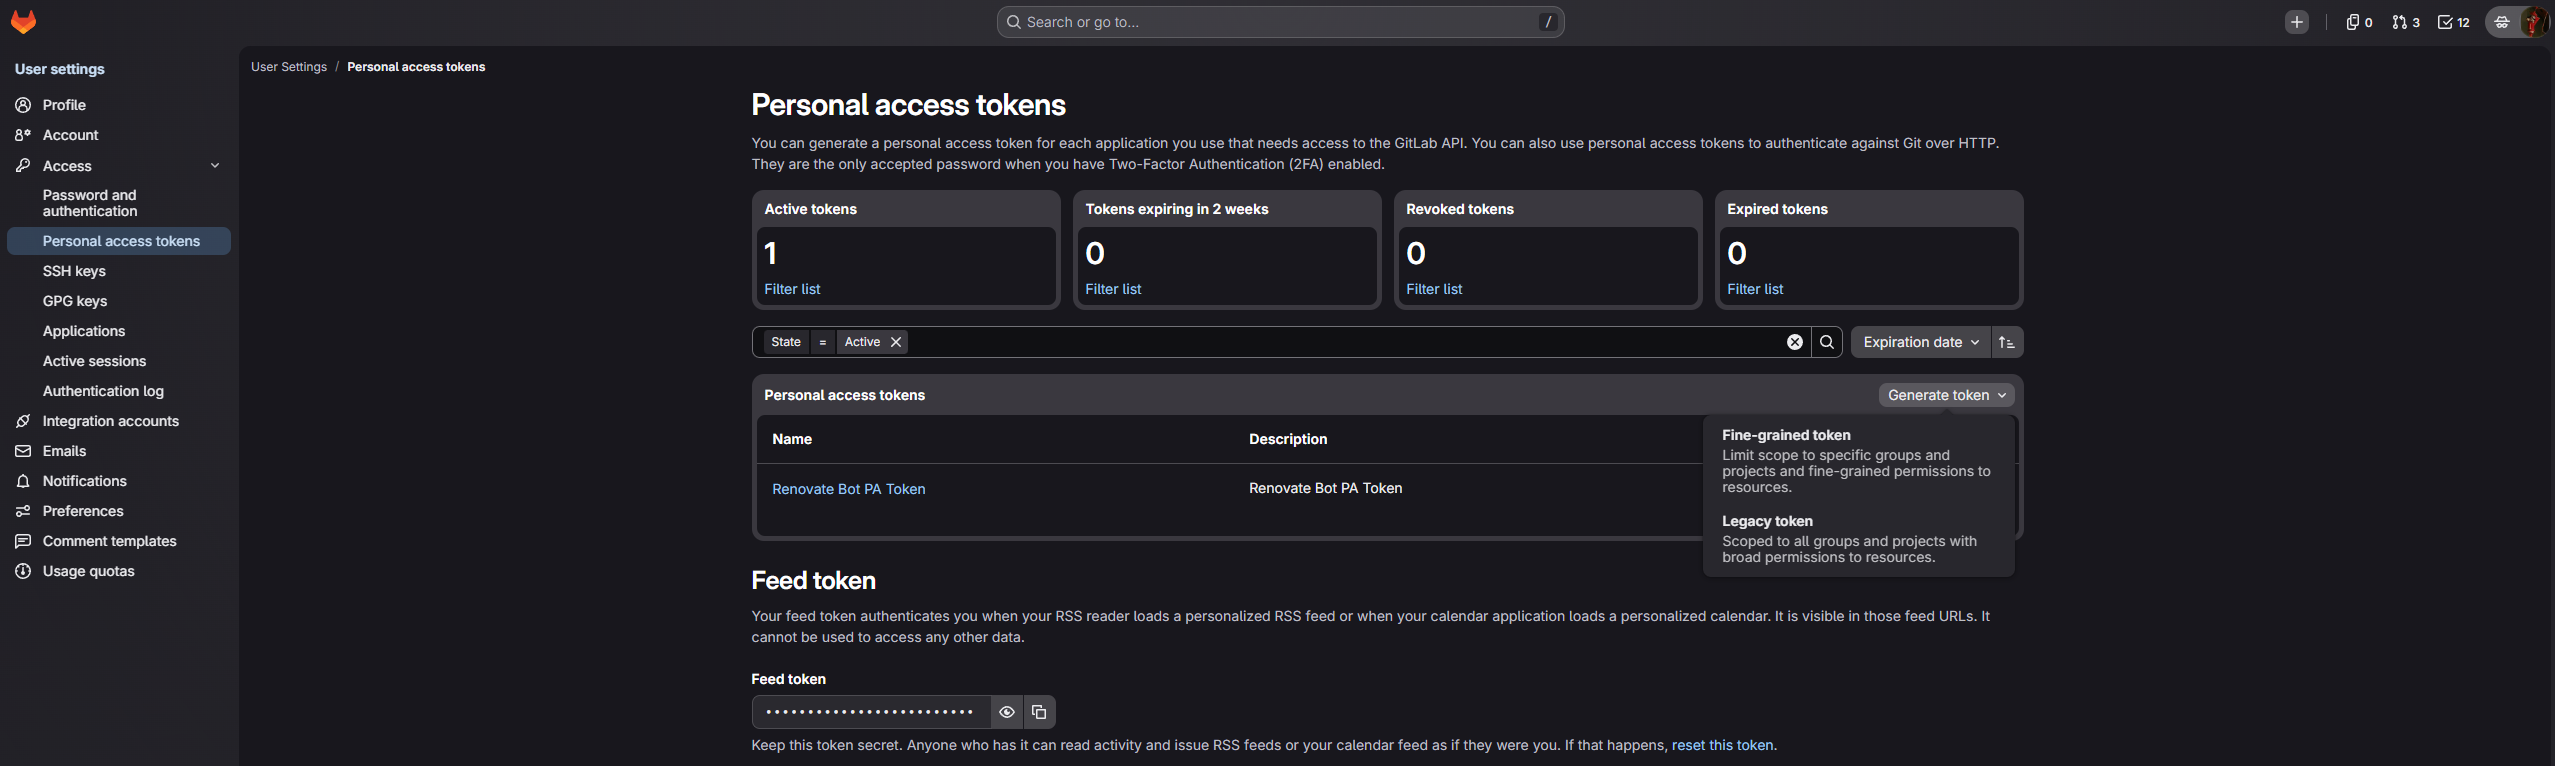
Now under “Access”, select “Personal access tokens” and press the button “Generate token” in the middle of the screen. Afterwards select the “Legacy token” type.
Don't be confused by the fact that there is already one PAT present, if this is a newly generated account there won't be any tokens present.
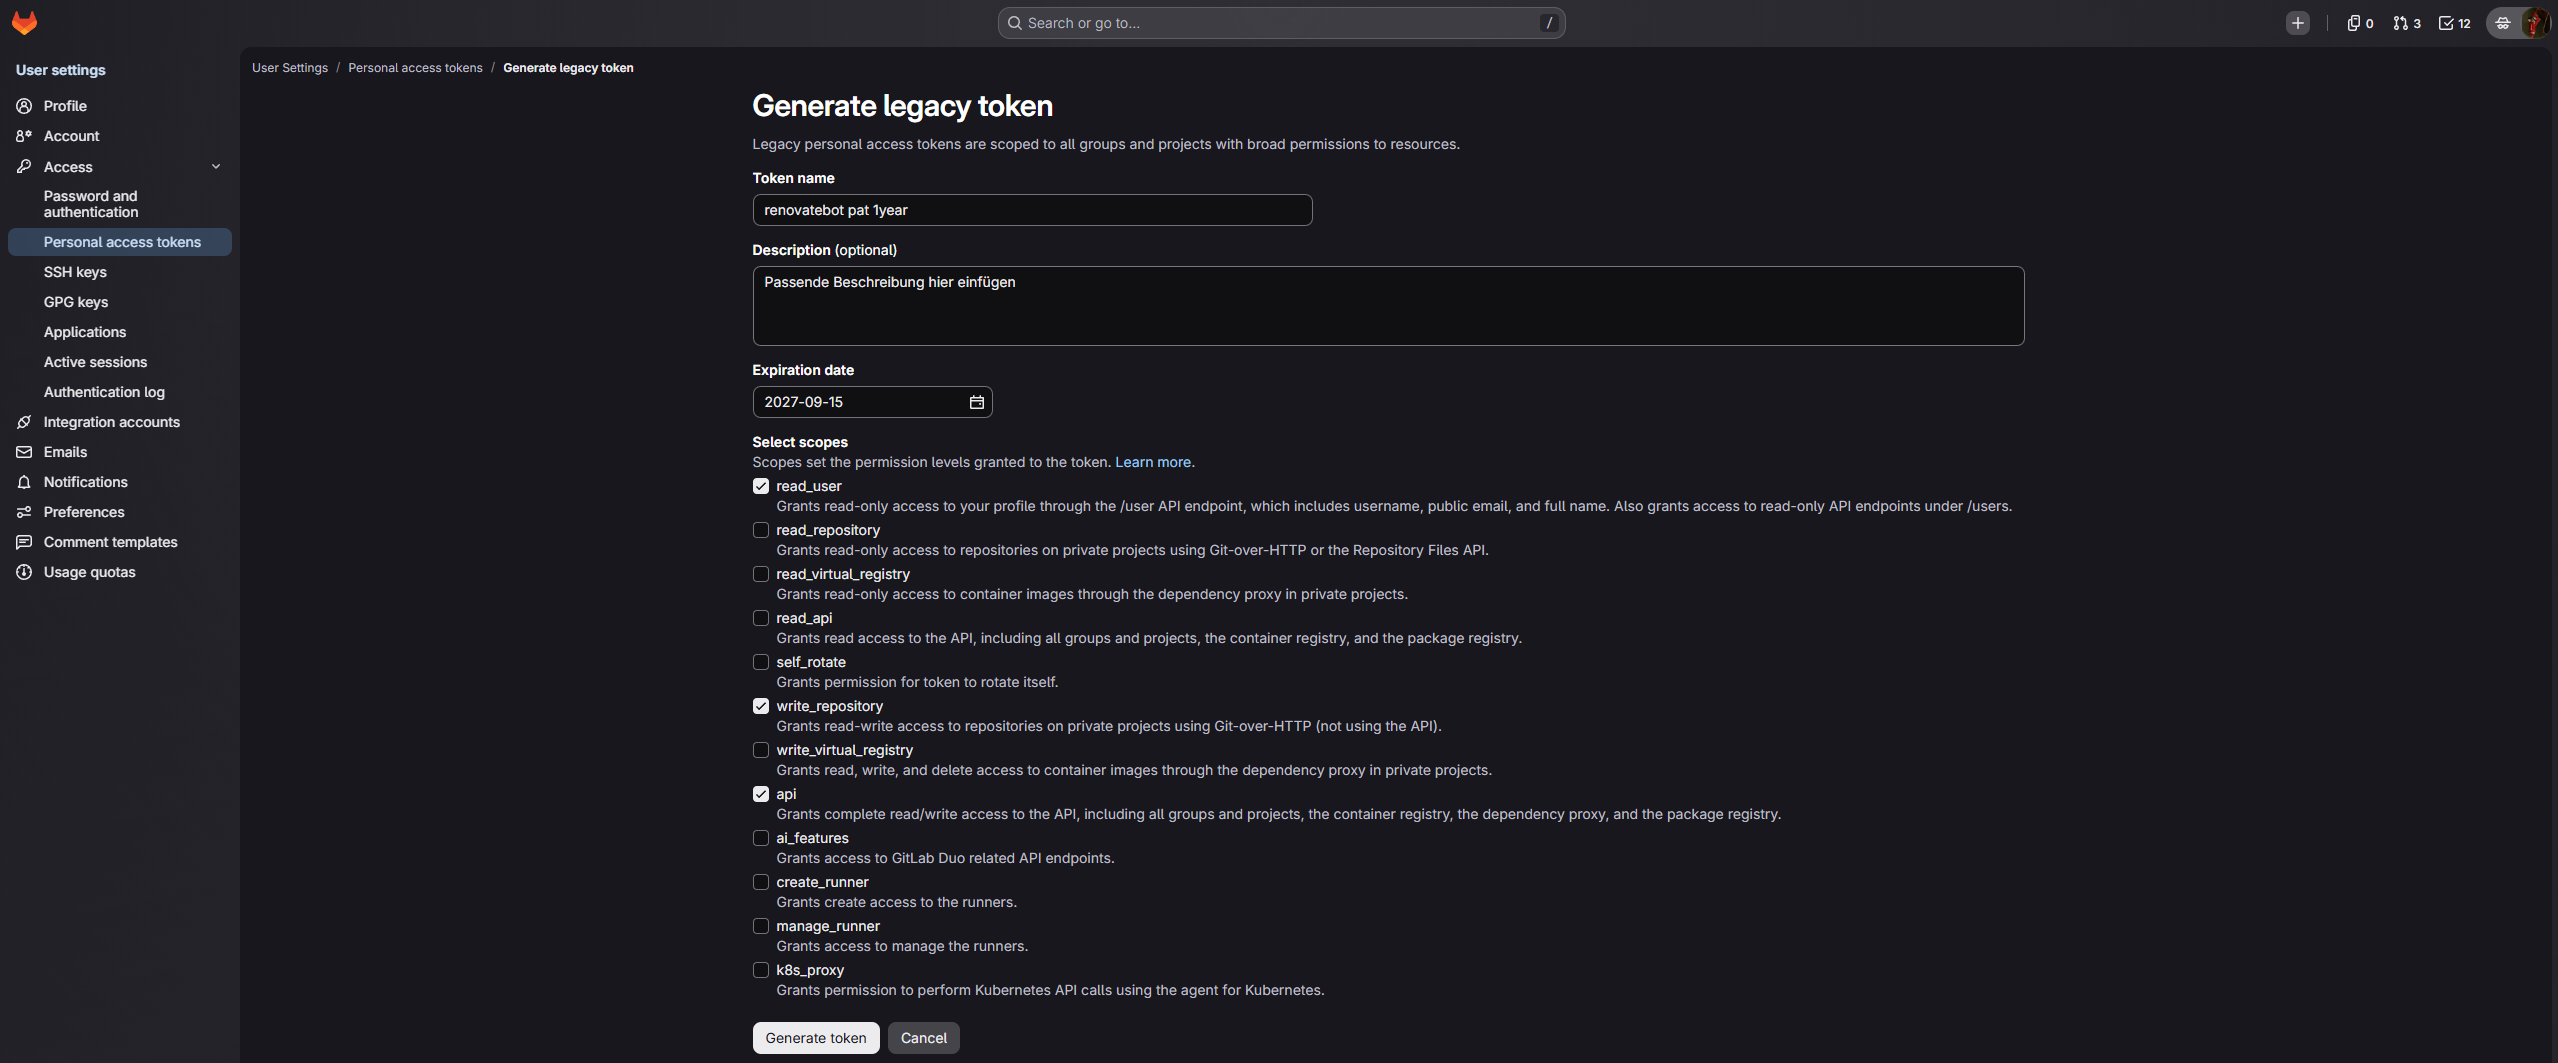
When creating the PAT please select the following 3 scopes like seen in the screenshot:
Also select a name which instantly lets you know the purpose of this access token.
Unfortunately GitLab doesn't allow the personal access tokens to be active for more than 1 year. I recommend setting a calender event or an alarm for a few days prior to the PAT expiring.
Otherwise you probably will wonder why the renovate bot didn't create any merge requests in the last few weeks, to then check the logs and see many permission denied messages. Don't ask me how I know.
Finally the newly generated token, which is only visible once, can be saved before it being used in the next step as the MEND_RNV_GITLAB_PAT variable.
¶ GitLab System Hook
Next up a new webhook secret / GitLab system hook has to be created. For this exit out of the impersonation and switch back to an admin account.
In the admin area select “System hooks” on the left and click on “Add new webhook” in the middle of the page.
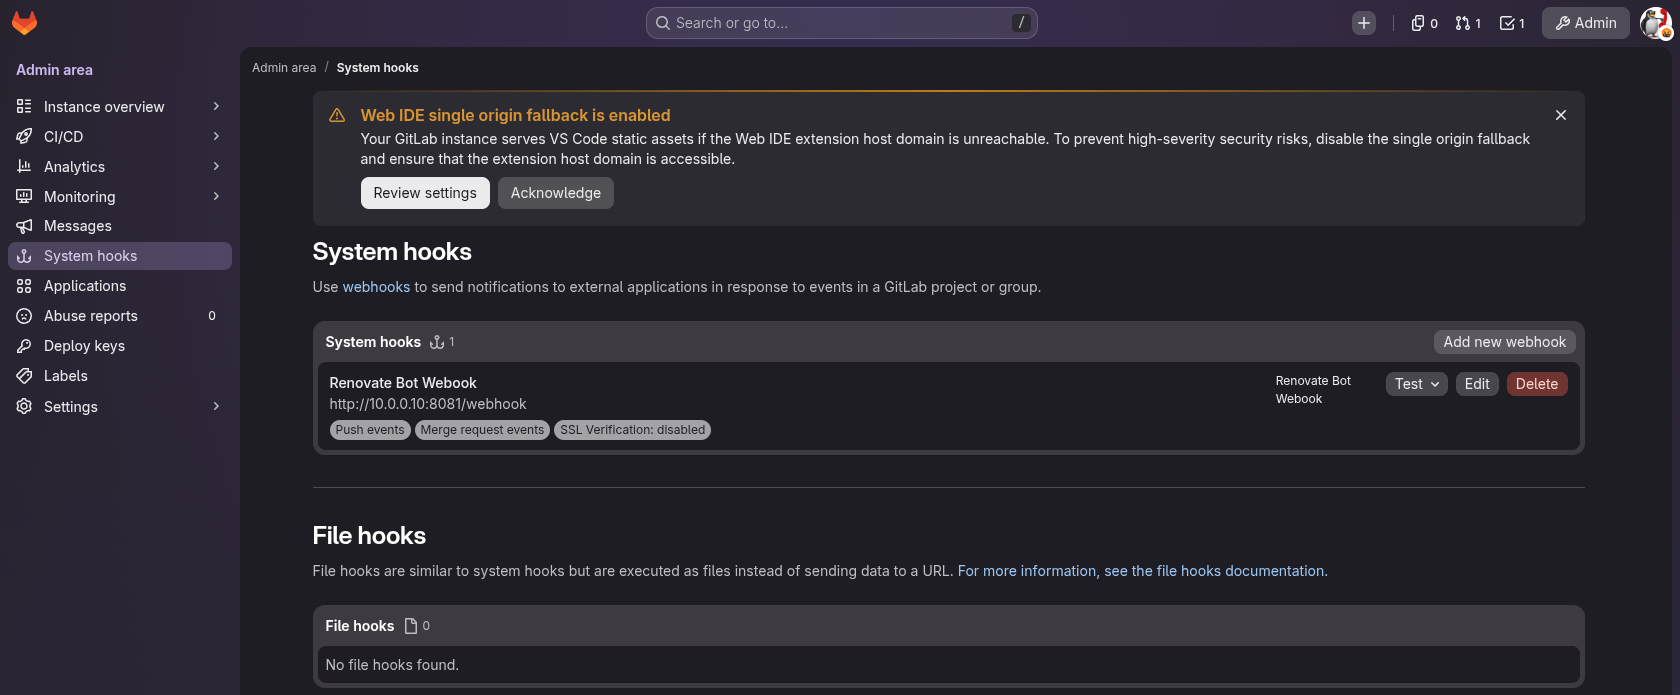
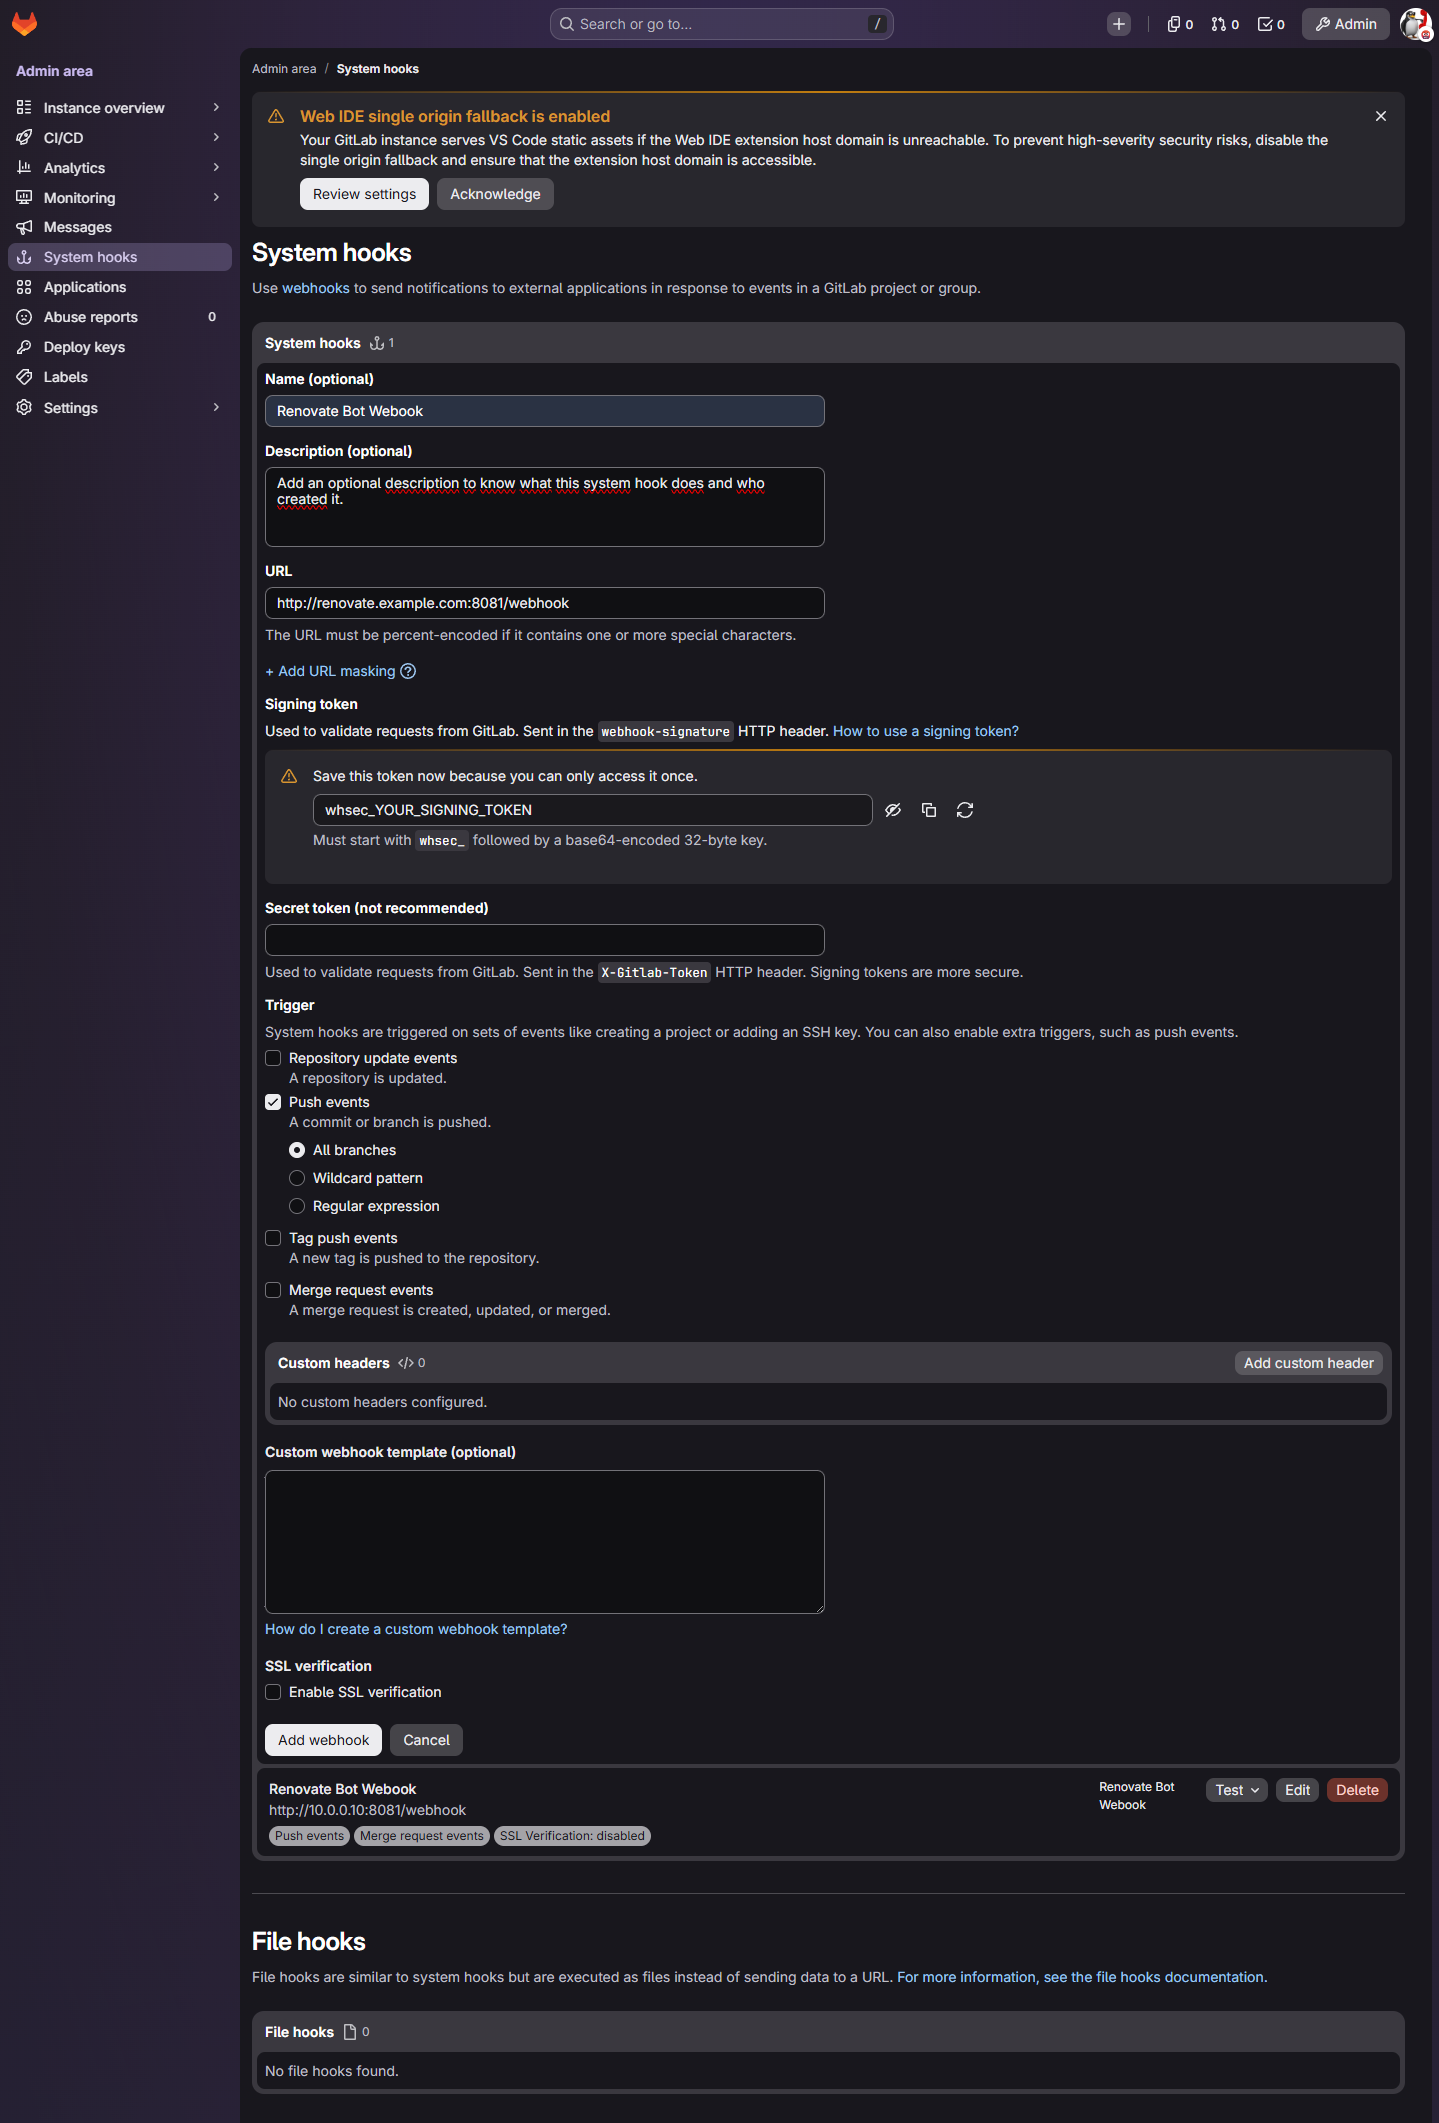
The URL of this system hook has to be the IP or the URL where the renovate bot will be deployed.
In this example the VM, with the IP 10.0.0.10, of the GitLab is als othe machine where the renovate bot will be running.
In the docker-compose.yaml file, which will be created in the following steps, a certain port will be mapped to the container port 8080.
The port on the VM side has to be added to the URL of the system webhook.
Examples:
Now GitLab can create a signing token for you, if you wouldn't implement it, everything could send actions to this webhook.
This signing token is also only available once so you have to copy it now and save it somewhere else.
Later the token will be saved in the MEND_RNV_WEBHOOK_SECRET variable in the mend-renovate.env file.
In the options of “Trigger” please only select “Push events” and deselect the “Repository update events”.
Since the network traffic between the renovate bot and GitLab never leaves the VM, the box for “SSL verification” can be deselected.
If we would send this network traffic to another VM with e.g. traefik, we would need to activate SSL and use HTTPS addresses.
Afterwards click on “Add webhook”.
¶ GitHub Personal Access Token
If you want to include the changelogs of any applications, which push changelogs on GitHub, you need to create a personal access token with your personal GitHub account.
The personal access token only needs reading permissions and then can be saved in the RENOVATE_GITHUB_COM_TOKEN variable in the mend-renovate.env file.
¶ Docker compose and all accompanying file
This it the link to the official template for the Docker compose from mend.io. I will be showing a custom version adjusted by me fitting my setup.
If any options or variables don't seem to make sense or won't work please use the official documentation.
The Docker compose won't include any sensitive data, this data will be saved in the mend-renovate.env file.
docker-compose.yaml
---
services:
  renovate-ce:
    # please check for newer versions here: https://github.com/mend/renovate-ce-ee/pkgs/container/renovate-ce
    image: ghcr.io/mend/renovate-ce:15.5.0
    ports:
      - "8081:8080"  # "[external / VM]:[internal / container]"
    env_file:
      - ./mend-renovate.env # File to include the env variables like personal access tokens
    environment:
      LOG_LEVEL: debug # Default is 'info', but 'debug' prints a lot of more useful information, especially if you need debugging logs when setting up the renovate bot
      MEND_RNV_REQUEST_LOGGER_ENABLED: true

      # API settings
      MEND_RNV_REPORTING_ENABLED: true
      MEND_RNV_LOG_HISTORY_DIR: /logs
      MEND_RNV_SQLITE_FILE_PATH: /db/renovate-db.sqlite

      # Renovate CLI configuration options
      RENOVATE_REPOSITORY_CACHE: "enabled"
      MEND_RNV_ENQUEUE_JOBS_ON_STARTUP: "enabled"
      MEND_RNV_PLATFORM=gitlab
      MEND_RNV_ENDPOINT='http://gitlab/api/v4/'
# This looks wrong, but works as intended, because GitLab and the renovate bot will be running on the same VM
      RENOVATE_GIT_URL: endpoint

    volumes:
      - ./tmp/renovate-logs:/logs
      - ./tmp/renovate-db:/db

    restart: unless-stopped
    networks:
      - default
      - traefik
    container_name: renovatebot

networks:
  traefik:
    external: true
...
The variable MEND_RNV_ENDPOINT does have the specified value on purpose, since both GitLab and renovate bot will be running on the same VM. This means, that the traffic won't leave the docker network, since it uses the container name in the endpoint URL.
When both applications are hosted on different VMs / systems it's useful to use the usual HTTPS URL from GitLab.RENOVATE_GIT_URL may then lead to unexpected behavior and has to be altered or deleted altogether.
In the mend-renovate.env every previously created license key, personal access token and secret will be saved.
mend-renovate.env
MEND_RNV_ACCEPT_TOS=y # Accept the terms of service of mend.io
MEND_RNV_LICENSE_KEY=[Add the mend.io license key here]
MEND_RNV_GITLAB_PAT=[Add the GitLab personal access token of the renovate bot here]
MEND_RNV_WEBHOOK_SECRET=[Paste the GitLab webhook secret here]
RENOVATE_GITHUB_COM_TOKEN=[Add the GitHub personal access token here] # Otherwise the renovate bot won't be able to read changelogs from GitHub
Additionally we have to create a directory called “tmp”. In this directory another 2 directories called “renovate-db” and “renovate-logs” have to be created.
Please execute these commands in the same directory where the docker-compose.yaml is safed.
mkdir -p ./tmp/renovate-db
mkdir ./tmp/renovate-logs
The permissions of the just generated directories have to be changed with the following command.
sudo chmod 777 -R ./tmp/
¶ Starting the renovate bot
The configuration of the renovate bot is now complete and it now can be started via the command docker compose up -d.
When starting the bot for the first time the image needed will be downloaded and unpacked which may take some time.
When executing docker ps you will be able to see all currently running docker containers.
Please copy the ID of the renovate bot container and run docker logs [CONTAINERI_ID_HERE] to see all the logs of the container.